Allure Testops 4.25.0 - 4.26.0
More good stuff has been added to Testops with the new releases - there are significant improvements to scenarios, copy-pasting, test case formatting, custom fields have been improved, and much more. Dive in to learn more!
Allure Testops 4.25.0 - 4.26.0
About a year ago, we decided that while the base of our product was sound, significant UX improvements needed to be made, especially for manual testers. We've been working hard on this ever since, so today's Testops feels quite different from a year ago.
In the past two releases, we've improved dashboards and added local custom fields for projects. Also, working with test cases has become much more convenient: you can now copy-paste scenario steps, add formatting, and have multiple expected results or attachments for one step. Let's break down all of these improvements.
Dashboards
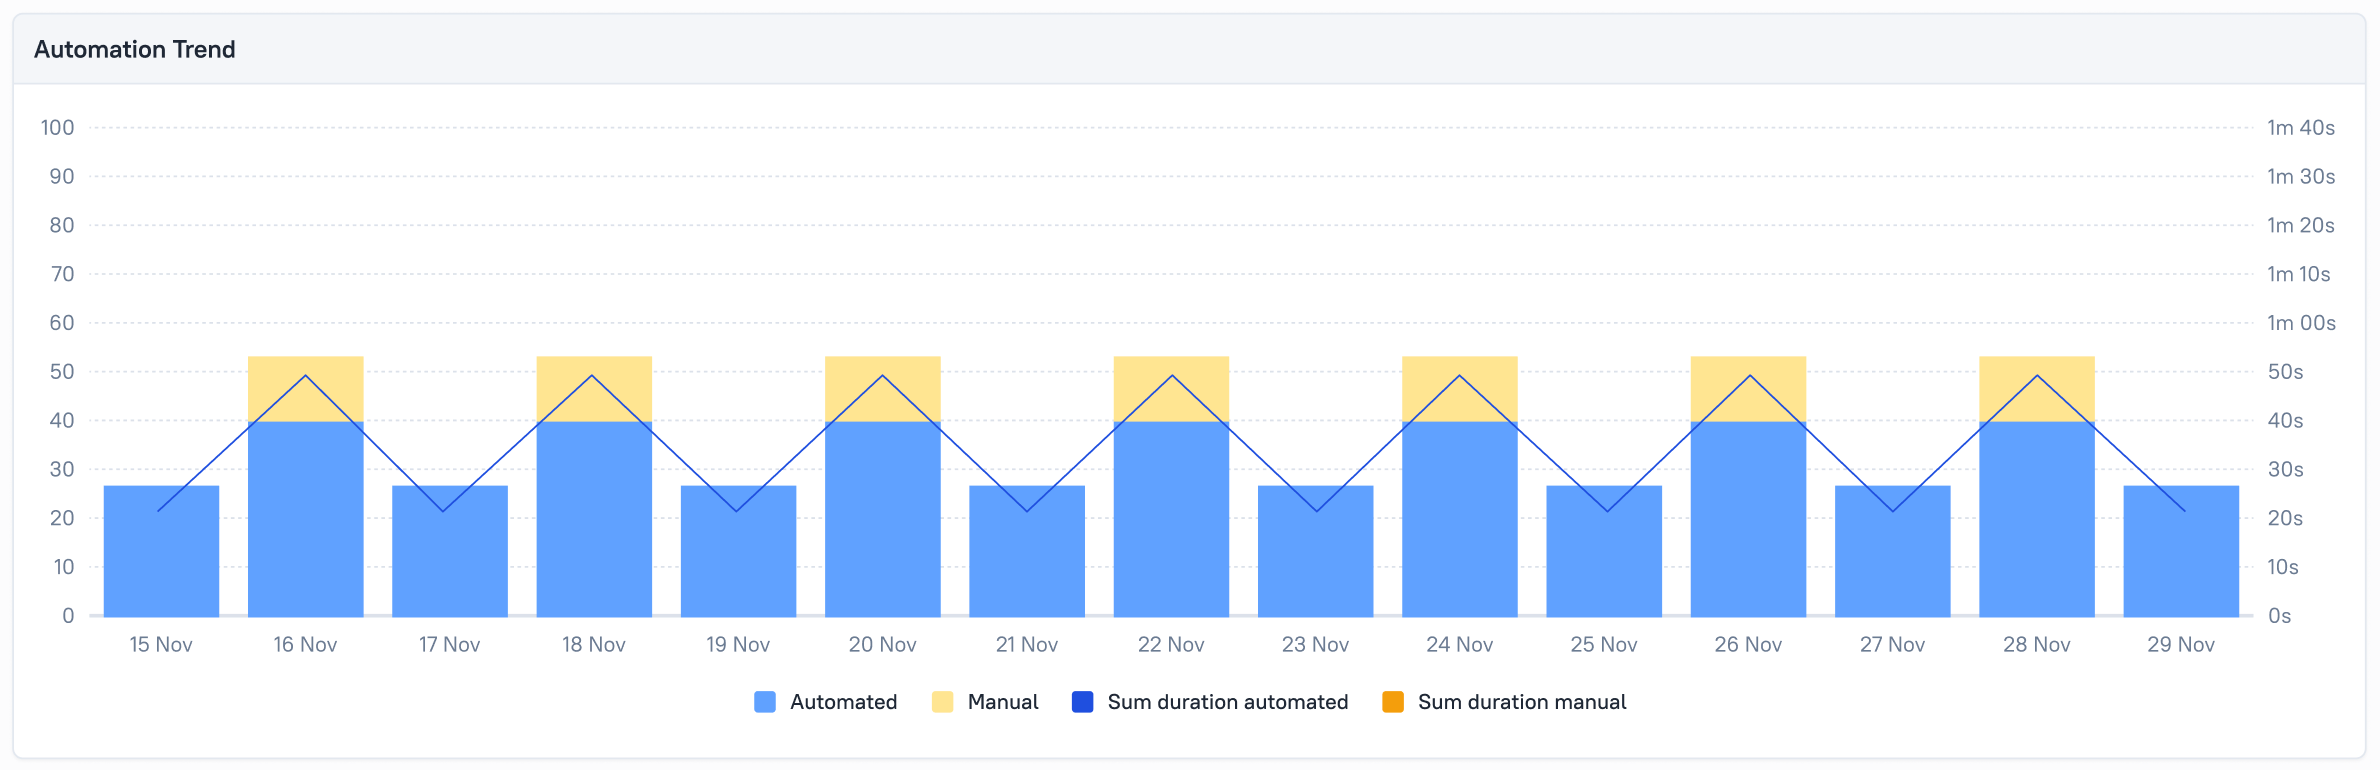
There has been a whole bunch of usability improvements to dashboards:
- Everything has become prettier!
- It's now easier to drag-and-drop and resize widgets.
- Histograms have become easier to read:
Scenarios
We've reworked a lot of stuff in scenarios. There's plenty of small things, so we'll just go over the big ones.
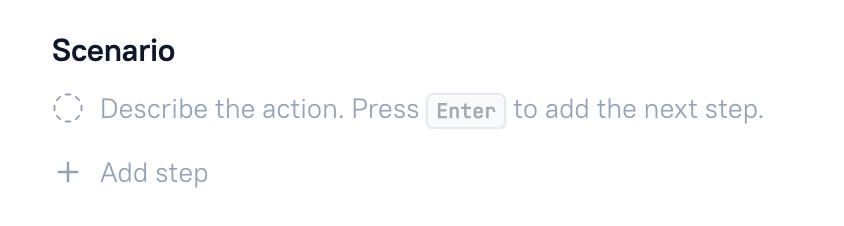
A new Add step button
For your convenience, there is now a dedicated Add step button at the end of each scenario:
Copy-pasting scenario steps
It is now possible to copy-paste scenario steps!
Importantly, this is intended to work in Select mode. In edit mode, shortcuts copy and paste text, not the whole step. To enter select mode, press Esc; it should look like this:

Now, follow the usual steps:
- Use your system's copy shortcut (Command + C / Ctrl + C)
- Select the place where you want the step moved
- Press the shortcut for paste (Command + V / Ctrl + V)
The step will be copied with attachments and child steps.
Test case formatting
It is now possible to format text in test case scenarios. With formatting, you can direct the reader's attention to what you want to be tested and avoid misreadings; for instance, you could stress the negative: "Logging in as an unregistered user".
Also, links can now be represented by text instead of being fully shown. Check it out:

vs.

Also, if you're writing in Gherkin, it's very convenient to color the keywords:
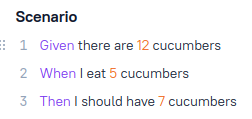
Doing all of this is simple: just right-click the text that you want to format and select the type of formatting you need:

Alternatively, you can just use Markdown syntax as you're typing. For, instance, double asterisk:


And all of this works with shared steps as well.
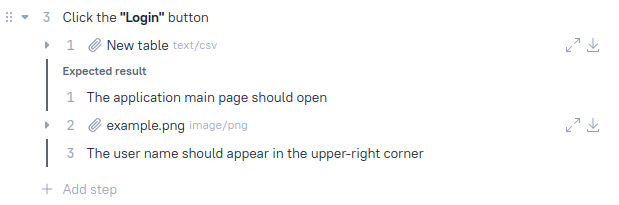
Expected results
Expected results used to be just a string field for an action. Now, they are kind of like steps - you can have multiple expected results for one action, and you can add attachments to the expected results section:
This is actually something we've been asked to do by our users, and here's why.
-
Say you need to check that a page has been opened and then look for something particular on the page. It would be handy to have the image of the page in between the expected results - and you can do that now! In other words, you can arrange actions, expected results, and attachments in the order in which they should be tested.
-
Of course, this also means you can now drag and drop the individual expected results - just like you would the ordinary steps.
Custom fields
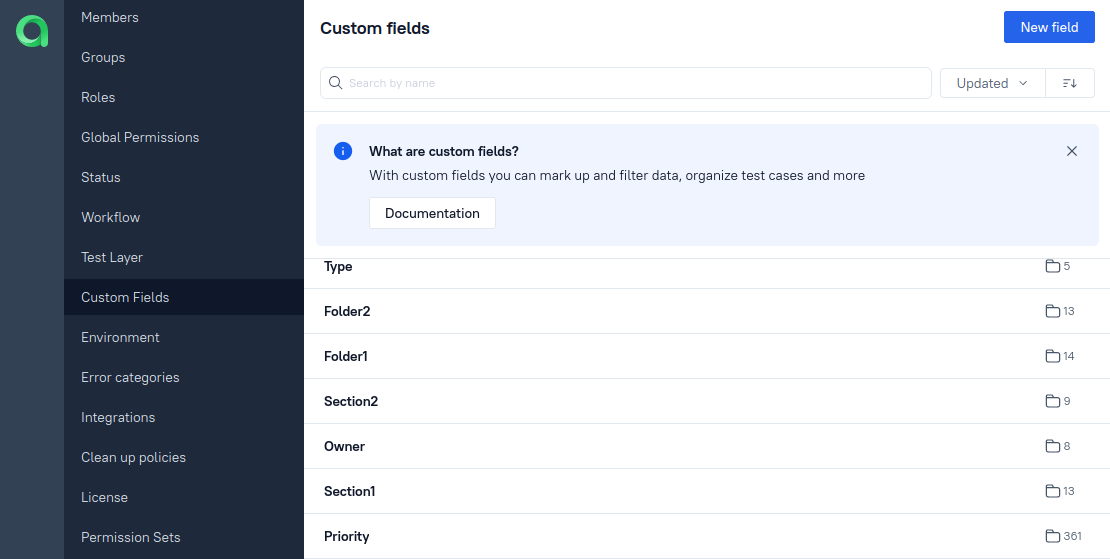
We've also reworked custom fields. All custom fields used to "live" in one place, under Administration > Custom Fields, and from there, you'd add them directly to your test cases.
Now, imagine you've got several teams using one Testops server, working with different frameworks, and they all have their own sets of keywords. So, whenever you need to add a field to your test, you need to sift through everything everyone has created.
Browser? Browsers? Which one was mine again...?
To solve this issue, we've introduced an intermediary level: custom fields for your particular project.
The global section is still there, and if you want to create a field or map one to your code, you still need to do it there (Administration > Custom Fields).
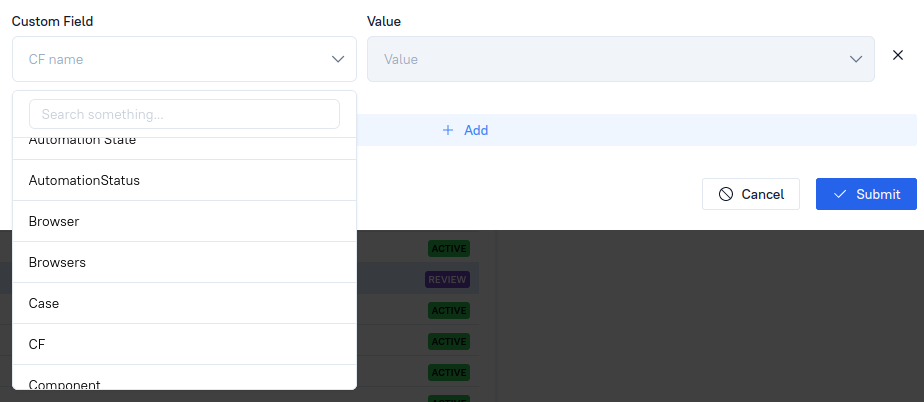
Then, you go to your project and open Settings > Custom Fields. The scope of fields in your project is now limited to what you see here. To add a new field from the global repository of fields, click "Add field":
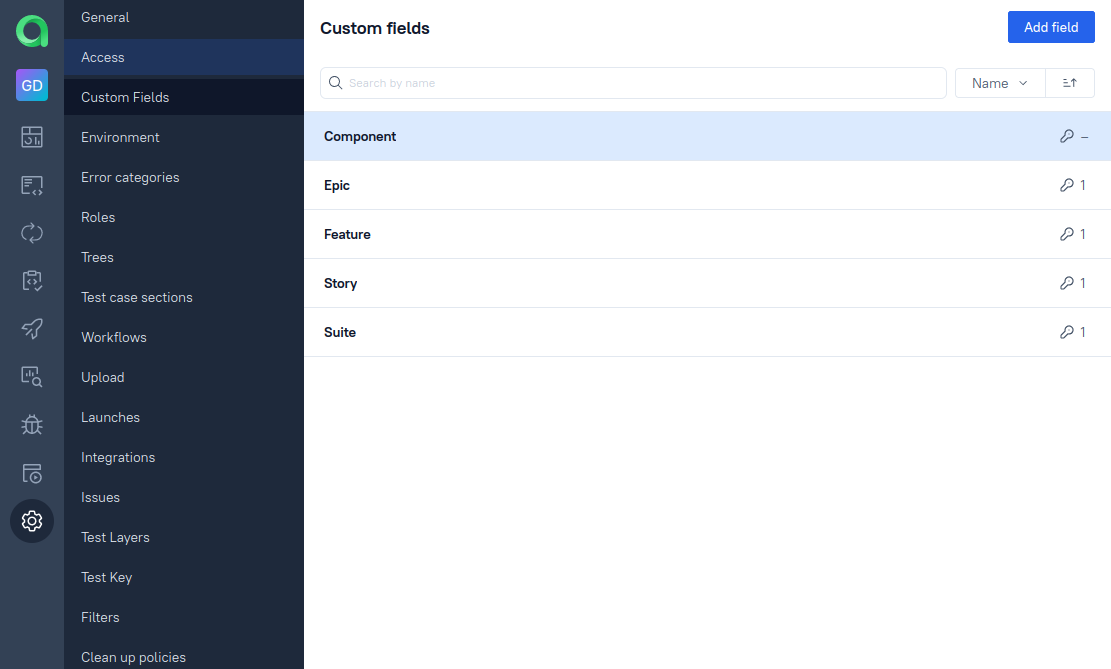
Now, when you're editing fields for your test case, you'll only see the stuff relevant to your project - including the field we've just created:
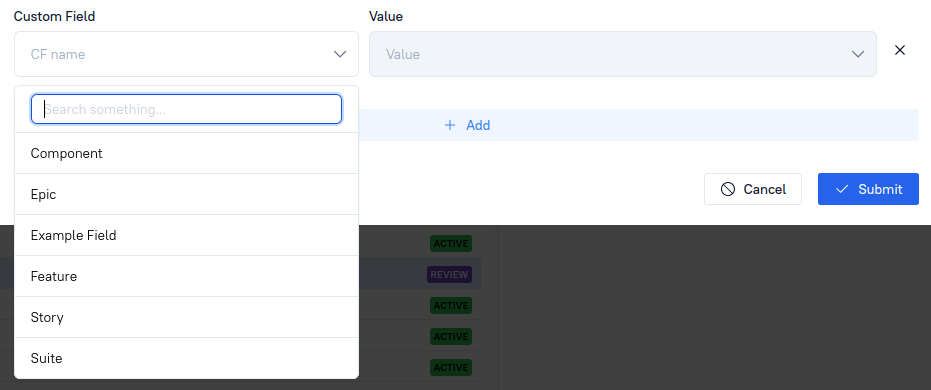
Note that some fields (Epic, Feature, Story, Suite) are present in all projects by default and can't be removed for now.
Conclusion
Making Testops friendlier for manual testers isn't the only thing we're currently busy with - but it is definitely at the top of our priorities list. And we've got big plans for the future, too! We can't tell you everything here, but you can probably expect the analytics section to receive some attention. So stay tuned!